Gear for the grave (the parts)
★ = the exact one I bought. Links go to Amazon. I’m an Amazon affiliate, so if you buy through them I earn a small cut at no extra cost to you. It pays for my servers.
Rather see how it goes together first? Jump to the build steps ↓| Part | What it does | |
|---|---|---|
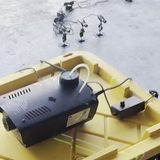 Fog machine + fog fluid | Makes the fog. Any small plug-in party fogger works; size it to how much fog you want. Mine is a small one, around 300 W. It sits on the lid and blows into the elbow that drops into the bin. Pick: Donner 500W fog machine (comes with two wireless remotes). Use only the fluid made for your machine. | Get it |
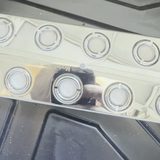 Ultrasonic mist maker, 10 head | Chills the fog. Sits in the water in the bin, cools the fog from the fog machine and adds its own cold mist. Beendou Ultrasonic Mist Maker Fogger 10 Head (8400 ml/h). Comes with its own waterproof power supply; keep that outside the bin and off wet ground. | Get it |
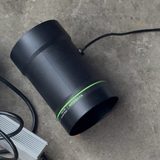 4" inline duct fan with speed control | Sits on the end of the outlet elbow and pulls the cold fog out low. Comes with a speed knob. VIVOSUN P4 4" inline fan, 130 CFM. It works, but it sits in wet, misty air, so a waterproof (IP-rated) fan is a worthwhile upgrade if you can find one. | Get it |
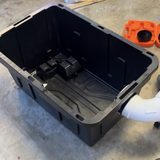 Heavy-duty storage bin with lid | The fog chamber. Any sturdy bin works. | Browse |
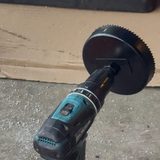 Hole saw kit | Cuts the openings the right size. A cheap kit is fine. | Browse |
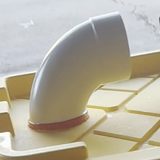 4" pipe and elbows (hardware store) | Go to the hardware store for the real pipe and corners. You need two elbows: one in the lid, facing the fog machine nozzle, and one out the side wall, turned down toward the floor with the fan on its end. Cheaper and easier to match to your fan than ordering online. | Hardware store |
 Long tube: flexible metal dryer duct | The tube you can't skip. Run 4" metal laundry (dryer) duct along the ground and poke holes along it, so the fog seeps out across a long stretch. Also from the hardware store. | Hardware store |
 Soft electrician's tape | Wrapped around the lid pipe until it wedges snugly into the hole. That's the whole seal. | Browse |
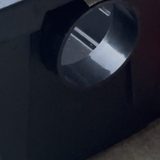 Toilet flange, 4" (for the side pipe) | The one fitting I did buy. It sits against the inside of the side wall and holds the outlet pipe; the elbow fits onto it outside. | Browse |
 Reusable ice packs | Go in the water. Colder fog hugs the ground better. | Browse |
 Dry ice (optional) | Thicker, lower fog. Grocery stores sell it. Read the rules below first. | Not on Amazon |
 532 nm green laser line module (optional) | The “graveyard laser” that cuts a sheet of green through the fog. I have two. Comes with an adapter, a mount and a magnetic base. Class IIIR: never aim at eyes, people, cars or aircraft. | Get it |
 638 nm red laser line module (optional) | The red sheet in the photos. Mixes with the green for that two-tone look. Comes with an adapter and a holder. | Get it |
 488 nm sky blue laser line module (optional) | The blue sheet. Three colors crossing in the fog is the money shot. Comes with an adapter and a mount. | Get it |
Don't overthink it
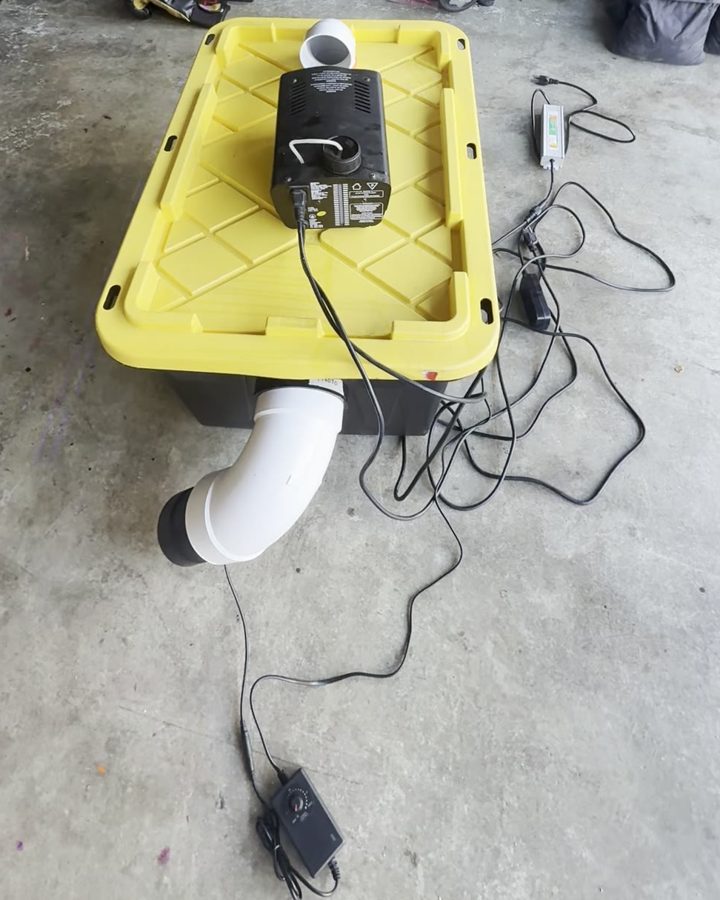
This is a fog chiller: a low-lying fog machine. All it really needs is fog going in and fog coming out of a bin. Set a regular fog machine on the lid so it blows into a pipe that drops into the bin. A mist maker in cold water inside chills the fog, and a small fan on the outlet pipe pulls it out low.
I added ice packs to the water so the fog comes out cold and sinks to the ground, and I also tried dry ice. You can skip the dry ice and still get great fog.
The tube is essential. A long tube with holes poked along it lets the fog seep out across a wide stretch of ground instead of puffing from one spot. (Mine isn't attached yet. Fixing that is next on my list.)
See it work (it works)
Fog + lasers (the payoff)






How I built it (one afternoon)
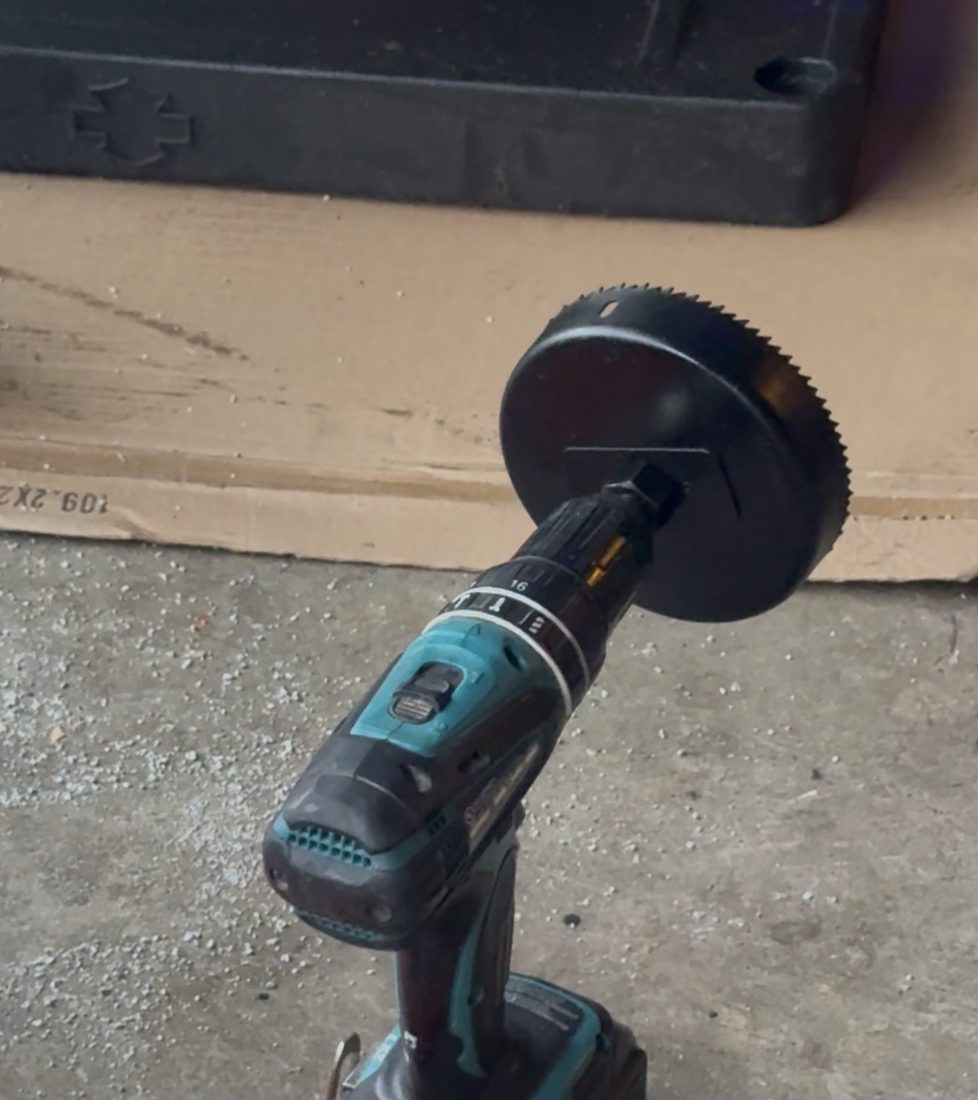 cheap kit, right size
Cut the holes
Chuck a hole saw into a drill and cut two holes: one in the lid at one end, where the fog goes in, and one high on the short side wall at the other end, above where the water will be, where the fog comes out. A cheap hole-saw kit gets you the right size, so the pipe fits snugly without a pile of fittings.
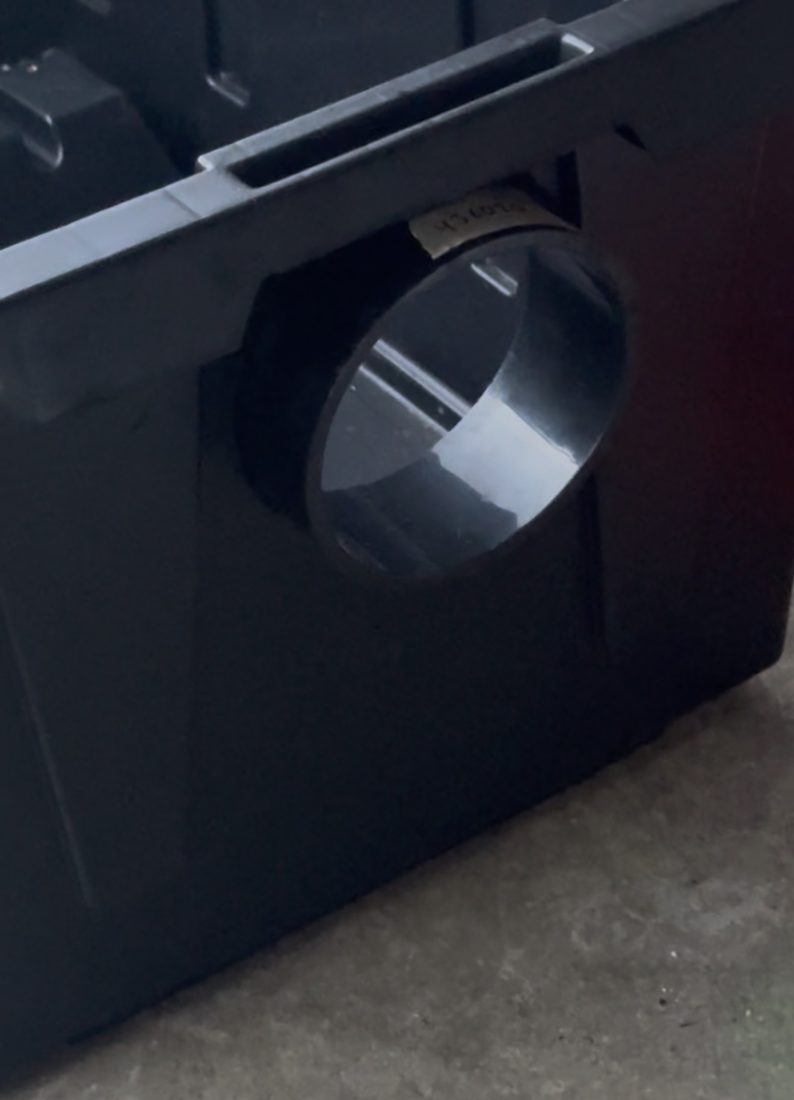 toilet flange, side wall
Wedge the pipe in
You don't need to buy a bunch of gaskets. I wrapped soft electrician's tape around the lid pipe until it was thick enough to wedge into the hole, and it stays put. For the pipe out the side, the only special fitting I bought was a toilet flange. It sits against the inside wall and the elbow fits onto it.
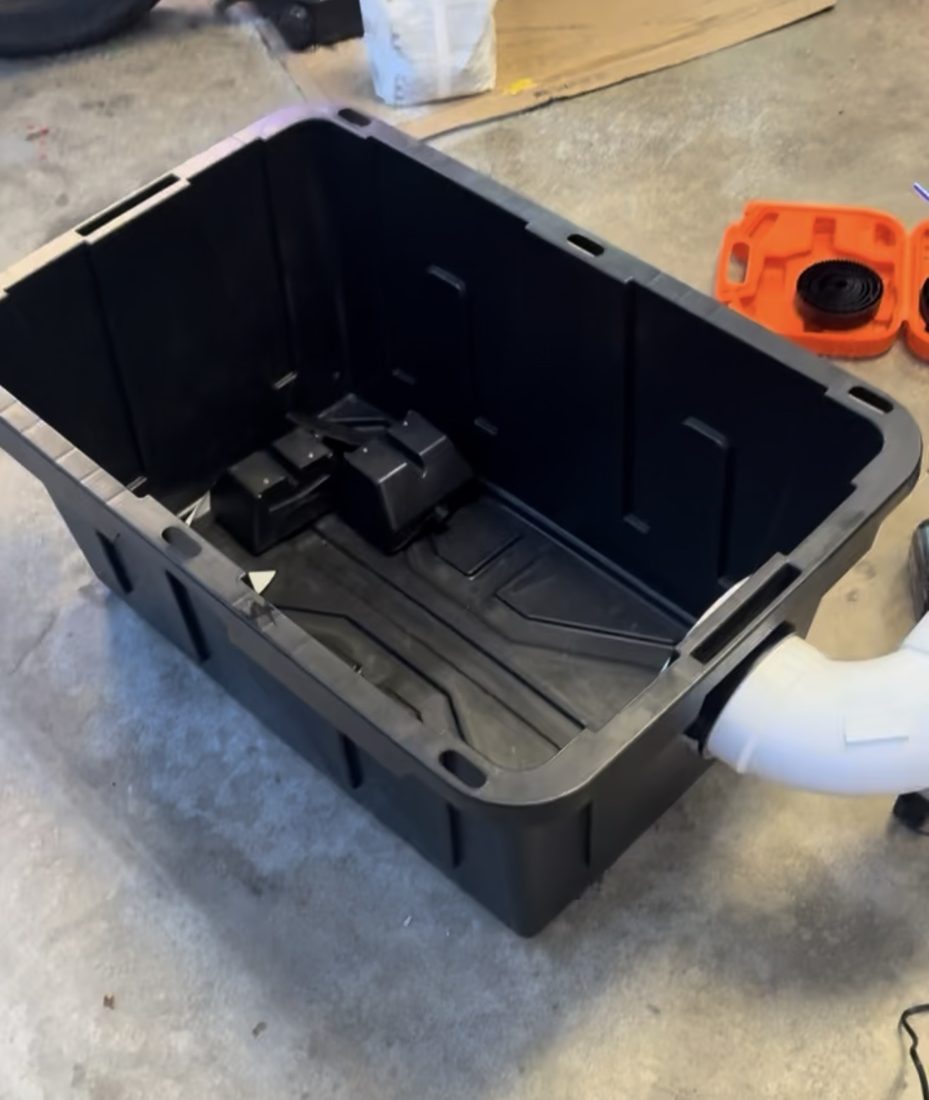 elbow points it down
Add the elbows
The elbow on the side outlet turns down, so the fog spills across the floor instead of rising. The second elbow stands in the lid hole with its mouth facing where the fog machine will sit.
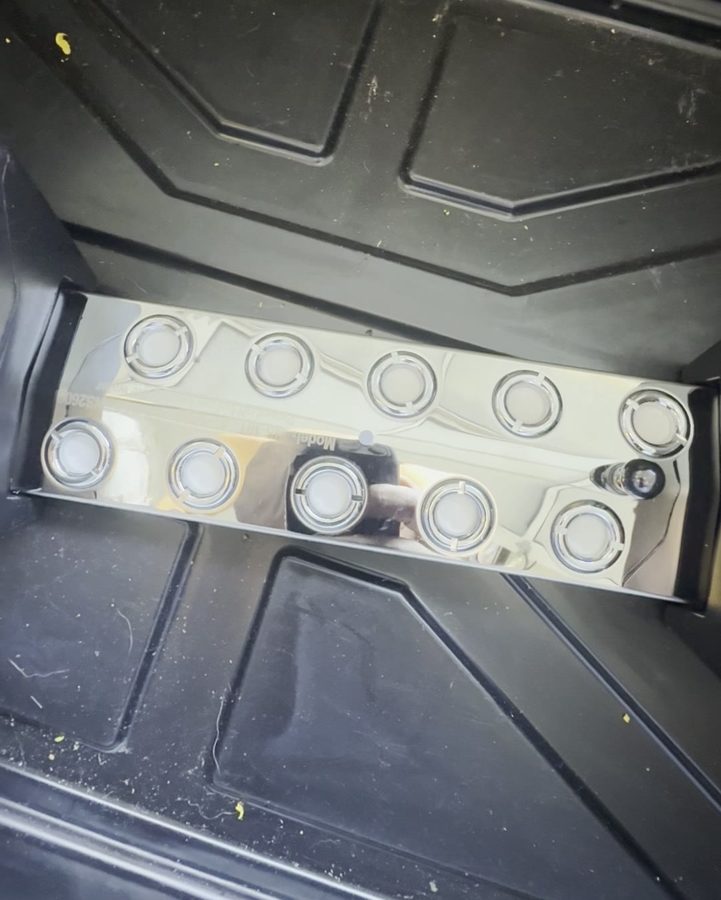 10 little mist heads
Mist maker + ice
The mist maker goes in the bin with water. It's the chiller: it cools the fog coming in and adds its own cold mist. Add ice packs to the water so the fog comes out even colder. Drop in dry ice if you want it thicker and lower.
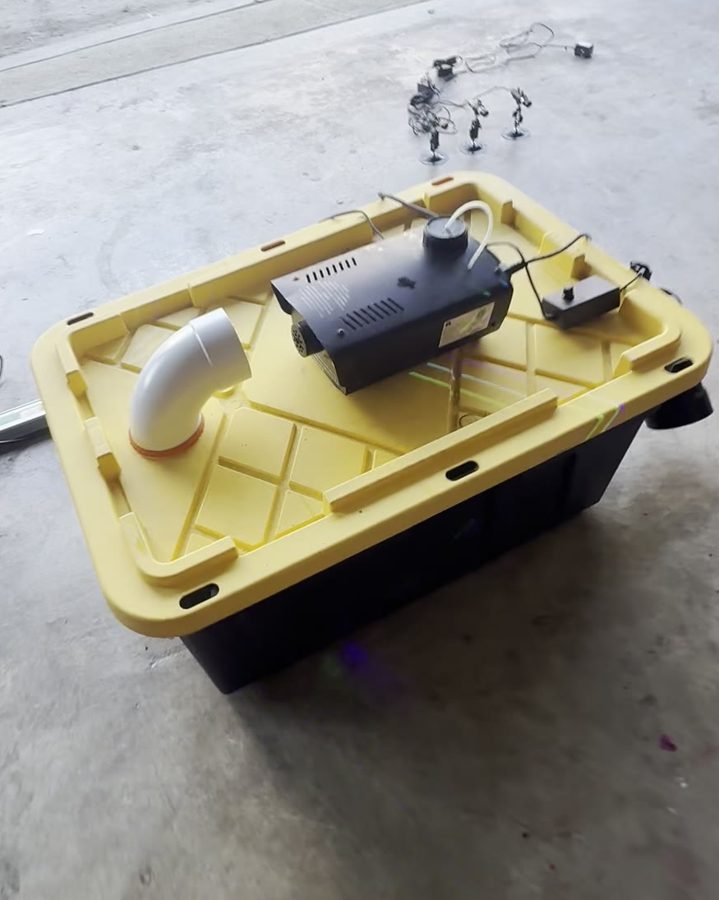 nozzle into the elbow
Fog machine on the lid
Set a regular fog machine on the lid with its nozzle pointed into the lid elbow. The fog blasts in, drops into the bin and gets chilled. Leave a little gap; the nozzle gets hot.
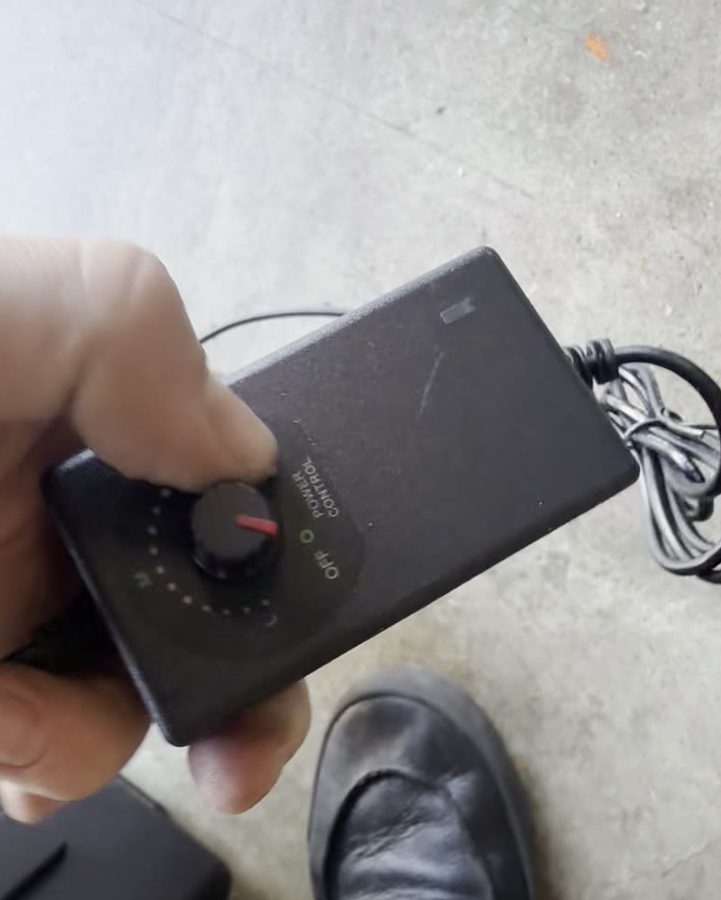 speed knob = how thick
Fan on the outlet
Push the 4" inline fan onto the end of the outlet elbow so it pulls the cold fog out low. Turn the speed down for thick, slow fog and up for more flow. It lives in damp air, so consider a waterproof fan.
Add the tube
This is the part that makes it a real fog chiller. Connect a long run of flexible metal dryer duct to the open end of the fan and lay it along the ground where you want the fog. Poke holes along its length so the fog seeps out the whole way, not just from the end. Grab the duct and any connectors from the hardware store. (Mine isn't attached yet, so photos coming.)
Make it look scary
Cold fog sinks, so keep the water cold. Dim the lights, shine green, red and blue laser lines across the fog, and add a blacklight or two. Lay the perforated tube among the tombstones, and park the bin out of the way of trick-or-treaters.
Clubhouse rules (safety)
- Dry ice is dangerous to touch. It is about -109°F. Use gloves or tongs, never bare hands.
- Never seal dry ice in an airtight container. The gas expands and can burst it. Keep the bin vented, like it is here.
- Use it with fresh airflow. Dry ice gives off carbon dioxide, which can build up in small closed rooms. Use it outdoors or somewhere well ventilated, and keep kids and pets away.
- Water and electricity. Plug into a GFCI outlet, keep power strips and plugs off wet ground, and keep the mist maker covered by water while it runs.
- The fog machine gets hot. Its nozzle is marked HOT SURFACE and its label says to keep people and anything flammable at least 50 cm (about 20 in) from the nozzle, never add anything flammable, and never open the cover. Don't let the nozzle touch the elbow. Use only fog fluid made for it, and keep it dry on top of the lid.
- Lasers. Mount them so they can't swing around. Never point them at eyes, people, cars or aircraft.
Questions
What is a fog chiller?
A low-lying fog machine. It makes the fog cold so it is heavier than the air and rolls along the ground like graveyard fog instead of rising. This build runs fog from a regular fog machine through a bin with a mist maker in cold water, and a fan pulls the cold fog out low.
Do I need dry ice?
No. The fog machine makes the fog and the mist maker in the water chills it. Ice packs make it colder so it stays low. Dry ice just makes it thicker and lower.
How do I get the fog to stay low?
Make it cold. Cold fog is heavier than the air around it, so it sinks and rolls. Use ice packs in the water, and dry ice if you like.
What if the fog is too thin?
Make sure the fog machine has fluid and has finished warming up. Then slow the fan down, keep the water cold, and check that the mist maker is covered by water.
What do I need to make a homemade fog chiller?
A small plug-in fog machine and fog fluid, a storage bin, an ultrasonic mist maker, a small inline duct fan (a waterproof one is better), a hole saw, two 4-inch elbows from the hardware store, a 4-inch toilet flange for the side pipe, electrician's tape to seal the lid pipe, and a long tube such as flexible metal dryer duct with holes poked in it.
Is dry ice fog safe?
Handle dry ice with gloves, never seal it in an airtight container, and only use it where there is fresh airflow, because the gas is carbon dioxide and it can build up in small closed rooms.
What tube should I use?
Flexible metal dryer duct from the hardware store works well. Lay it along the ground and poke holes along it so the fog spills out over a long stretch.
Do I really not need all those gaskets?
I didn't. Electrician's tape wrapped around the lid pipe until it wedges into the hole worked great. The only special fitting I bought was a toilet flange for the pipe out the side.